(Optional) Assignment 13: C++ Photoshop
Due Friday May 1, at midnight
This assignment implements a Image API that emulates common image operations, such as those found in tools such as photoshop and Gimp.
The goals for this assignment are:
-
Implement an class for loading and saving image files
-
Implement various operations and filters for images (like Photoshop)
This is an optional assignment for extra credit on your final grade. Only assignments that complete the minimal requirements are eligible for extra credit.
Getting started
Update your repository to get the basecode for this assignment.
$ git pull
$ cd A13
$ make
$ ./pixmap_minimal
$ ./pixmap_test
$ ./pixmap_art
1. Part I: Image class
Complete the implementation of a class Image in the files image.h and image.cpp.
Your Image class should use your PPM reader and writer from common.
The base code uses a header file to keep the class definition separate from its
implementation. The header file is included in your main application file. If you add
new methods to Image, you will need to edit both the header (.h) and source (.cpp)
files.
1.1. Minimal Requirements
-
Your class should implement an assignment operator, copy constructor, and destructor
-
Your class should manage a 2D color array in PPM format. Make sure you don’t leak memory.
-
Your class should implement the following methods:
-
bool load(const std::string& filename);-
Loads the file with the given name. Returns true if successful; False otherwise
-
-
bool save(const std::string& filename);-
Saves the file with the given name. Returns true if successful; False otherwise
-
-
int width() const;-
Returns the number of columns in this image
-
-
int height() const;-
Returns the number of rows in this image
-
-
Pixel get(int row, int col) const;-
Gets a pixel (value range in [0,255]) at position (row, col).
-
-
void set(int row, int col, const Pixel& c);-
Sets a pixel (value range in [0,255]) at position (row, col)
-
-
1.2. Basic Image Features
-
Your class should implement the following methods:
-
Image flip_horizontal();-
Returns a copy of the image flipped along the horizontal middle axis
-
-
Image resize(int width, int height);-
Returns a copy of the imaged resized to the given width and height
-
-
Image gammaCorrect(float gamma);-
Returns a copy of this image with the given gamma correction factor applied to it.
-
-
Image grayscale();-
Returns a copy of this image as a grayscale image.
-
-
Image blend(const Image& other, float alpha);-
Returns a copy of this image with the other image blended with it by factor alpha. E.g. result.pixel = this.pixel * (1 - alpha) + other.pixel * alpha. Assumes other and this have the same dimensions.
-
-
Image subimage(int row, int col, int width, int height) const;-
Returns a sub-image with top,left corner at (x,y) and width and height
-
-
void replace(const Image& image, int row, int col);-
Replaces the block of pixels starting at (row, col) with the image. Should not assume image fits on this image.
-
-
1.2.1. Testing
You are given a program to test your image class, implemented in pixmap_test.cpp.
$ ./pixmap_minimal
(0,0,0) (100,0,0) (0,0,0) (255,0,255)
(0,0,0) (0,255,175) (0,0,0) (0,0,0)
(0,0,0) (0,0,0) (0,15,175) (0,0,0)
(255,0,255) (0,0,0) (0,0,0) (255,255,255)
loaded feep: 4 4
0 255 175
1.3. Load/Copy/Save
To start, make sure that the file, feep.ppm, loads and saves correctly. Then test
that your width, height, copy constructor, and assignment operator
work correctly. Lastly, check that your destructor is cleaning up
any memory created by your class!!
1.4. Resize
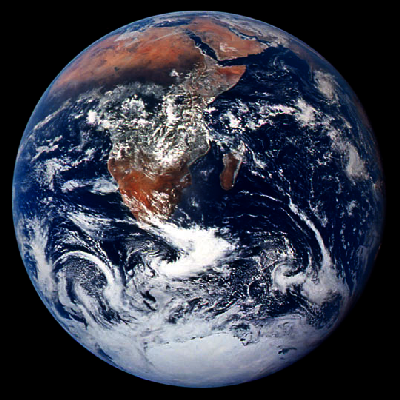
Test resizing the image, earth.ppm.
The following code and image show an example.
Image resize = image.resize(200,300);
resize.save("earth-200-300.ppm");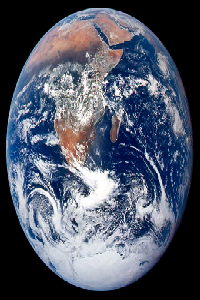
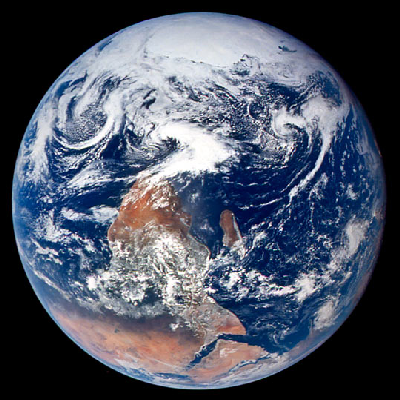
1.5. Flip horizontally
The following code and image show an example.
 ----
Image flip = image.flip_horizontal();
flip.save("earth-flip.ppm");
----
1.6. Gamma correction
The following code and images show two examples.
Image gamma = image.gammaCorrect(0.6f);
gamma.save("earth-gamma-0.6.ppm");

gamma = image.gammaCorrect(2.2f);
gamma.save("earth-gamma-2.2.ppm");
Gamma = 0.6
Gamma = 2.2
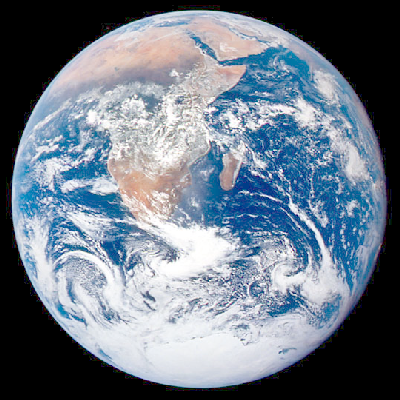
1.7. Grayscale
The following code and image show an example.
Image grayscale = image.grayscale();
grayscale.save("earth-grayscale.ppm");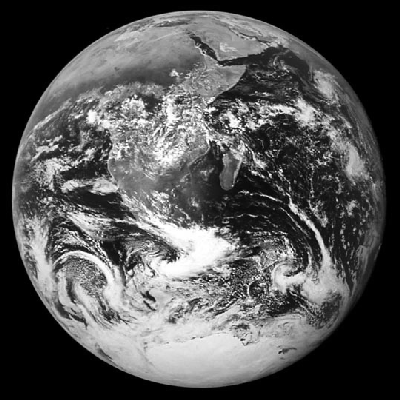
1.8. Subimage
The following code and image show an example.
Image sub = image.subimage(200, 200, 100, 100);
sub.save("earth-subimage.ppm");
1.9. Blend and replace
The following code and image show an example.
Image soup;
soup.load("../images/soup.ppm");

int x = (int) (0.5f * (image.width() - soup.width()));
int y = (int) (0.5f * (image.height() - soup.height()));
Image background = image.subimage(x, y, soup.width(), soup.height());
background.save("background-test.ppm");

Image blend = background.alpha_blend(soup, 0.5f);
image.replace(blend, x, y);
image.save("earth-blend-0.5.ppm");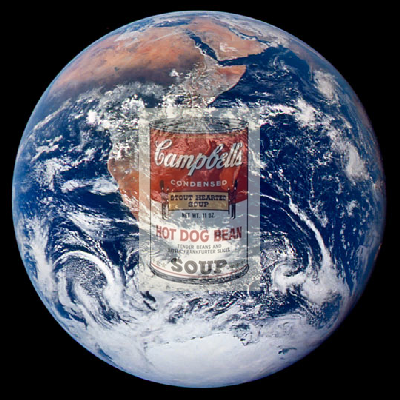
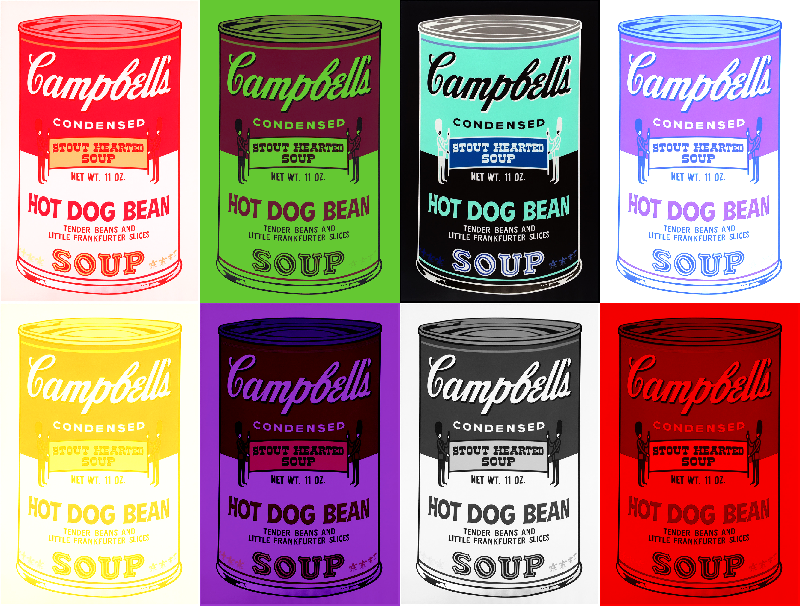
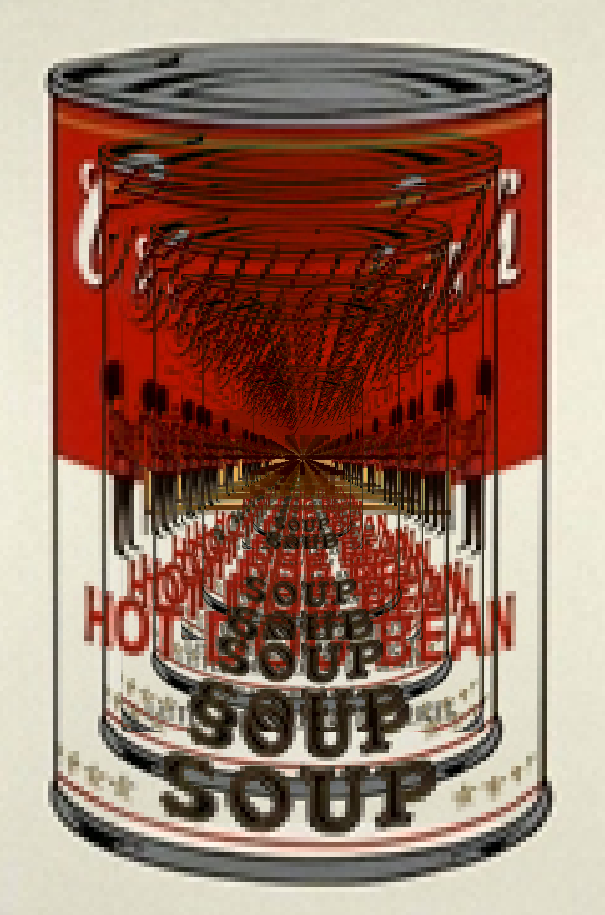
2. Part II: Make some art
In the file, pixmap_art.cpp, implement a program that creates a cool-looking image.
You may want to implement additional features in your image class to do this (See below).
-
Rotate 90 degrees: rotate the image clockwise by 90 degrees
-
Swirl colors: rotate the colors of your image such that the red channel becomes the green channel, the green becomes blue, and the blue becomes red.
-
Invert colors: subtract each color channel from the max value, 255.
-
Add a border around the edge of your images.
-
Distort: displace pixels based on sine and cosine.
-
Extract the red, blue, or green channels
-
Bitmap: Create a 'fat bits' version of your image
-
Overlay a fill color, or blend a pattern of colors
-
Lightest: given a Image, implement
max(this.pixel, other.pixel) -
Darkest: given a Image, implement
min(this.pixel, other.pixel) -
Difference: given a Image, implement
this.pixel - other.pixel -
Multiply: given a Image, implement
this.pixel * other.pixel -
Randomize colors or 'jitter' the colors
-
Glow: produce a glow effect around all pixels of a given color, such as white
-
Painterly effect
-
Glitch effect
Below are some ideas:
3. What to hand in
-
Your code. Make sure your code is checked into github. Make sure it adheres to the coding style.
-
Images made with your program
4. Rubric
Extra credit is added to your final exam grade (out of 100).
-
(2 points) Minimal Features
-
load/constructors/assignment/destructor/set (memory management)
-
No memory errors
-
set/get/width/height/save
-
-
(2 points) Image operators
-
resize
-
flip_horizontal
-
gammaCorrect
-
grayscale
-
blend
-
subimage
-
replace
-
-
(2 points) Cool images
Code rubrics
For full credit, your C++ programs must be feature-complete, robust (e.g. run without memory errors or crashing) and have good style. Some credit lost for missing features or bugs, depending on severity of error
-5% for style errors. See the class coding style here. -50% for memory errors -100% for failure to checkin work to Github -100% for failure to compile on linux using make